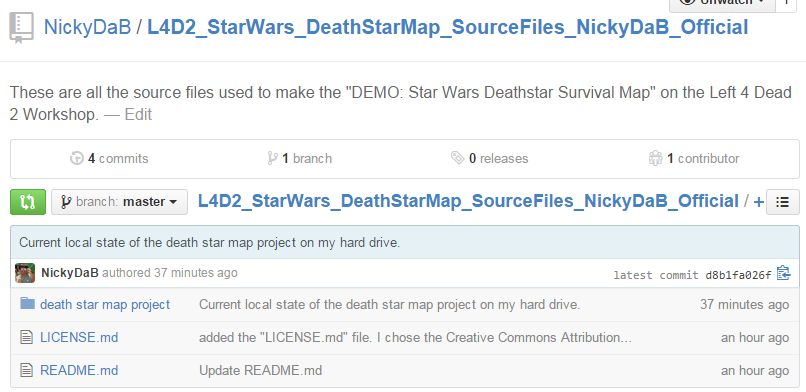
March 26, 2015: Uploaded my source files to GitHub
I was thinking about putting up my source files for a while. Thought I might clean up the files first and wait until mid July to publish the source on GitHub, but some people were asking for it now. So, I said, whatever, why impede other modder’s creative drive and progress. So I pushed all of my source files up today. Enjoy happy modding!
Find the repo on GitHub here: https://github.com/NickyDaB/L4D2_StarWars_DeathStarMap_SourceFiles_NickyDaB_Official
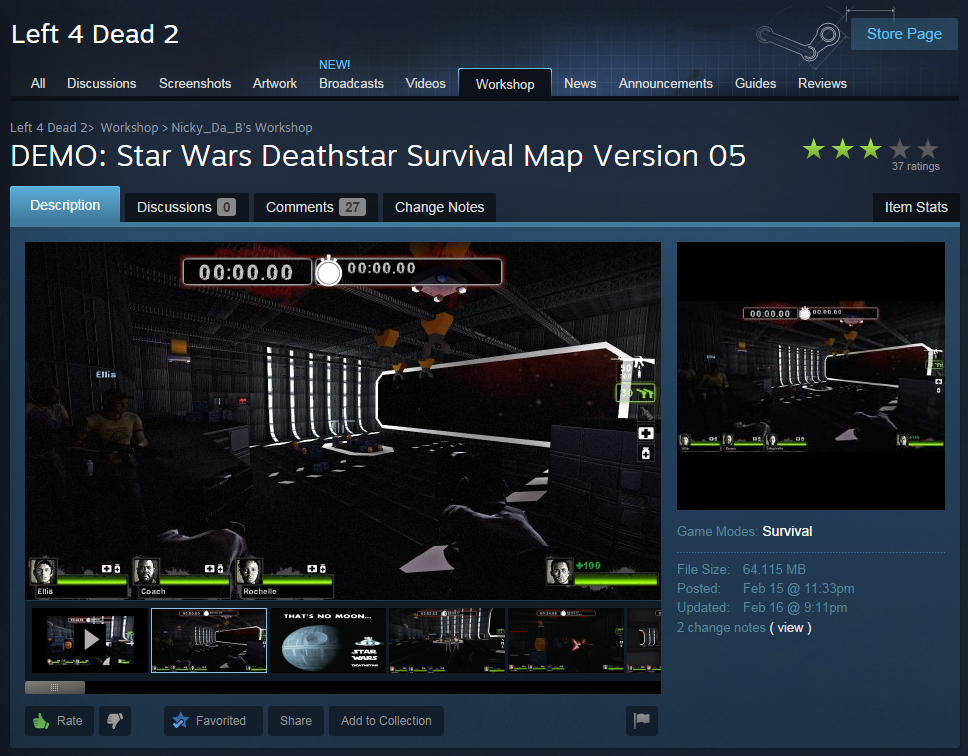
February 15, 2015: Published the map on Steam Workshop
I decided that I got the base of the map finished and that I wanted to publish the current version as a demo, before I start working on other rooms. This way people can play the demo while I work on creating other parts. The workshop also has an update version feature so I can push new rooms as I make them.
Download it on the Steam Workshop here: http://steamcommunity.com/sharedfiles/filedetails/?id=393489025
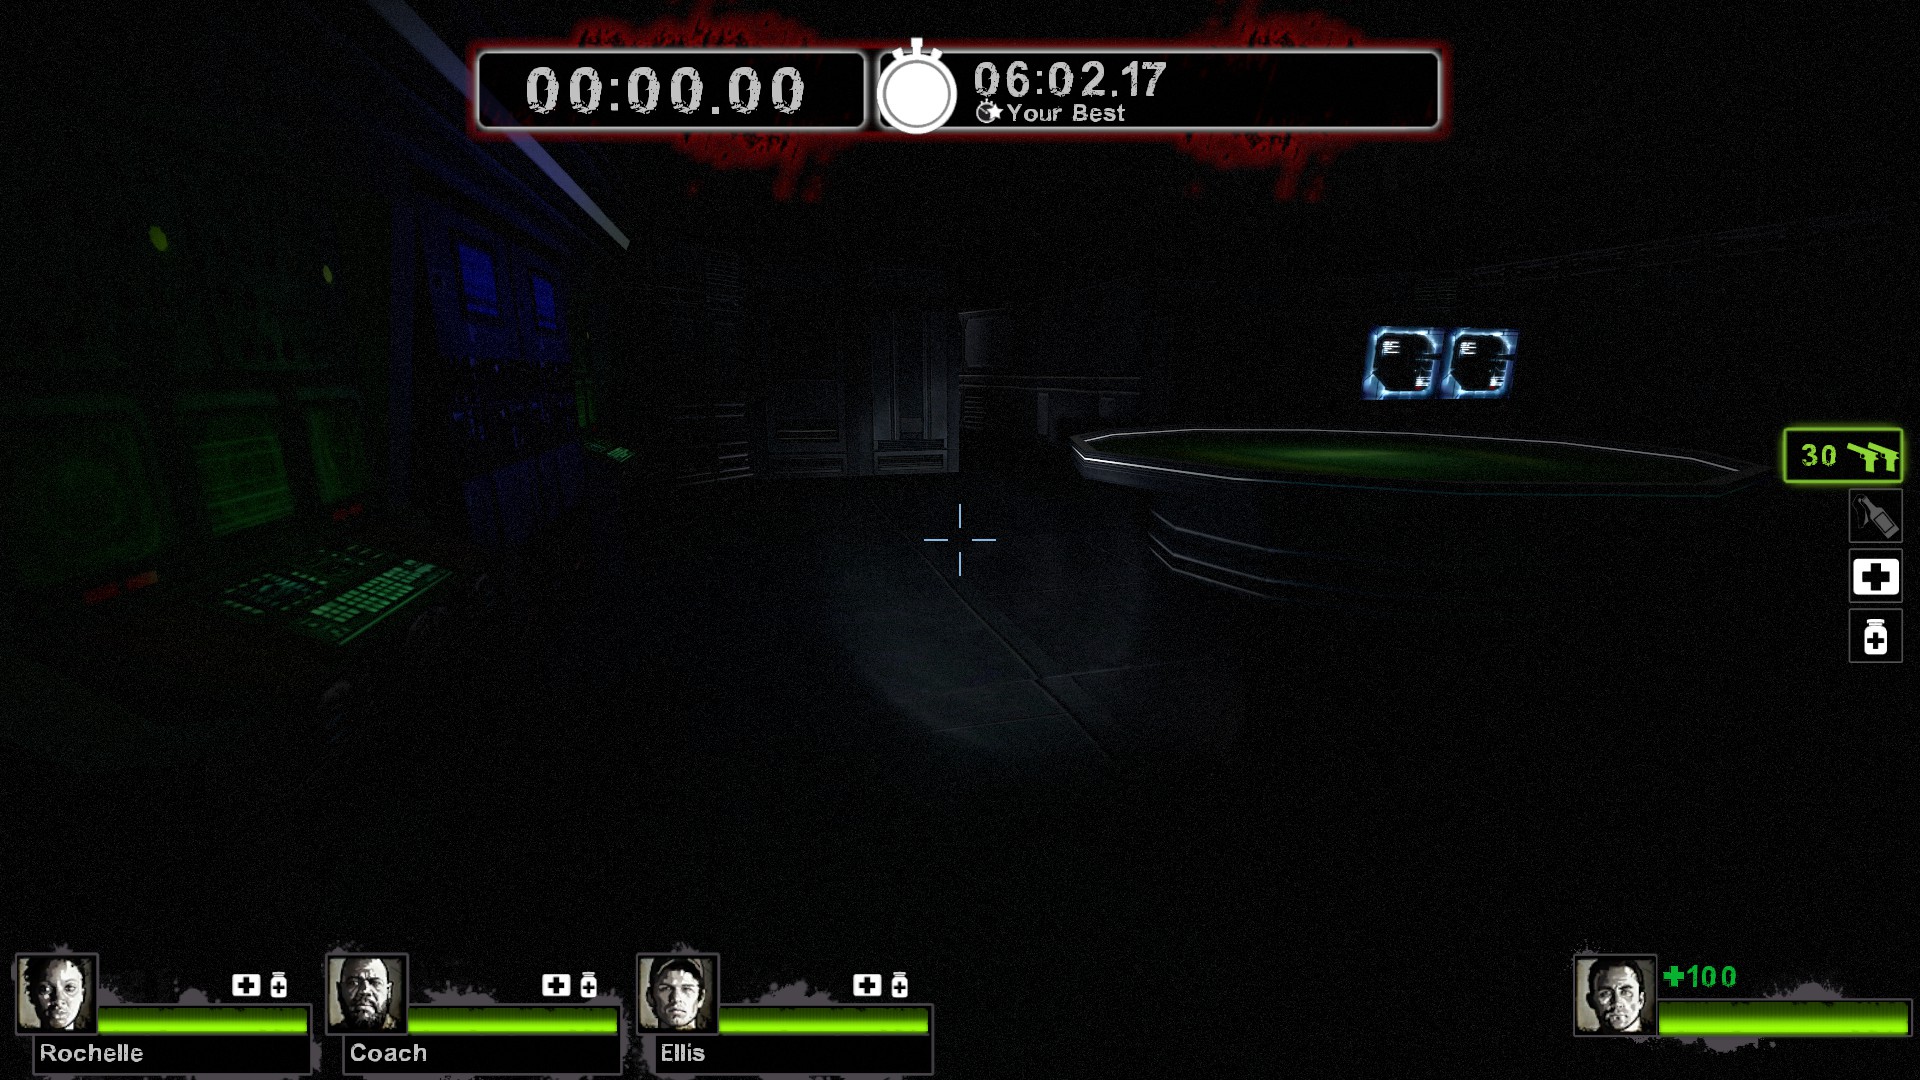
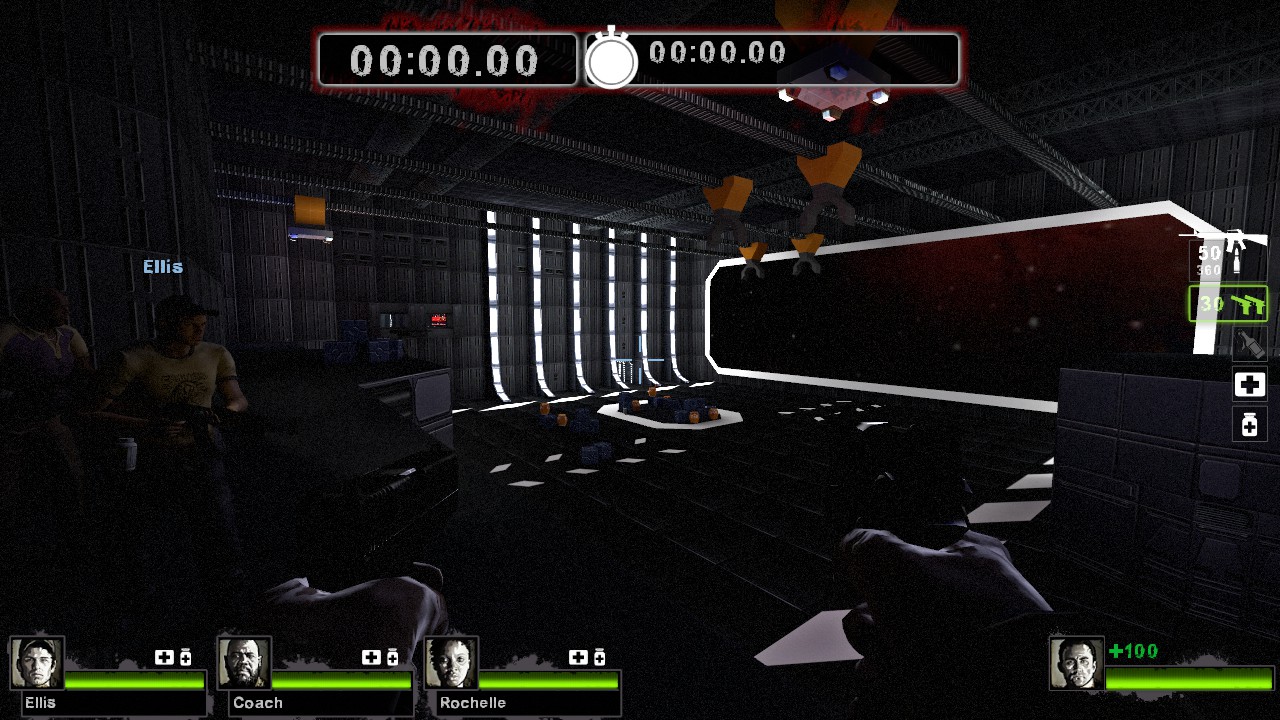
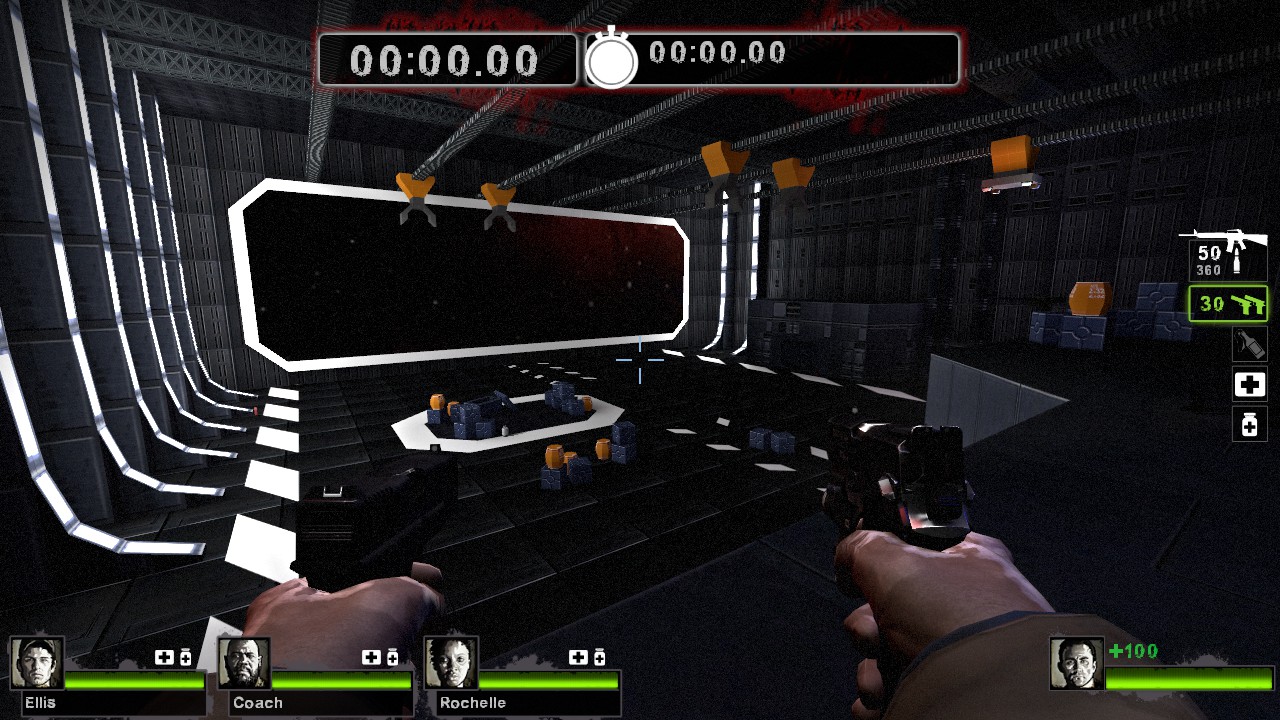
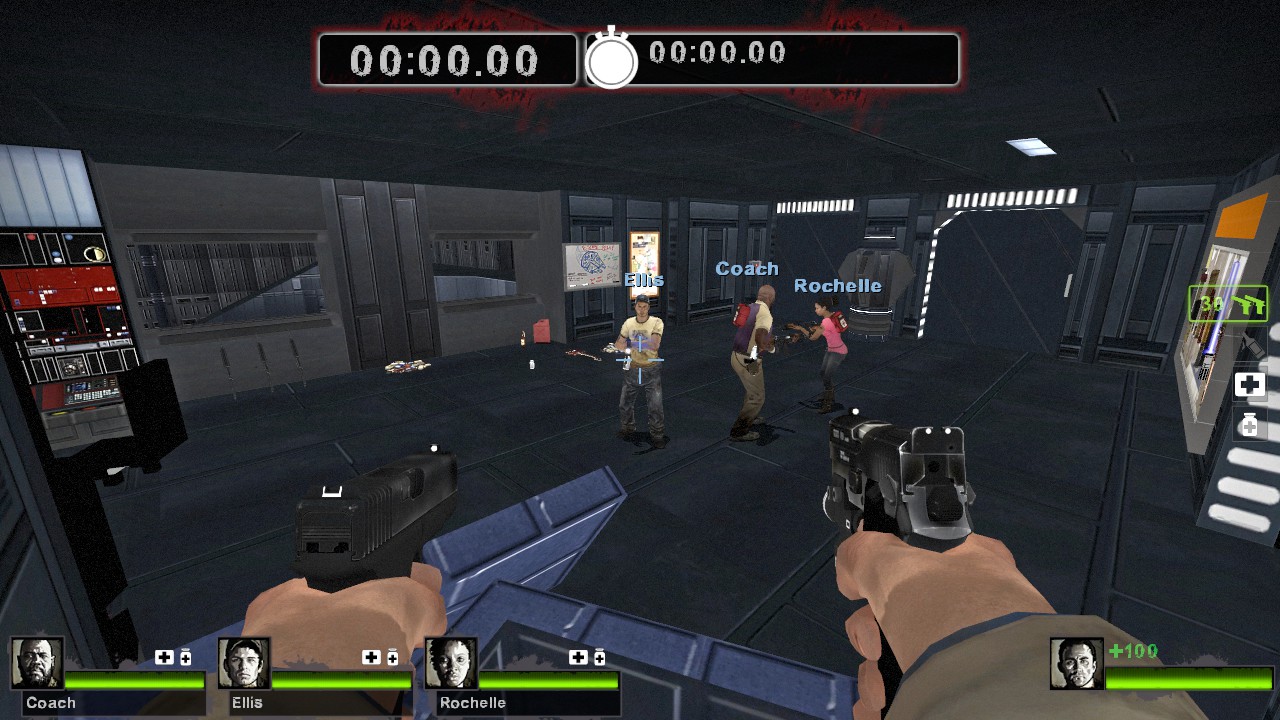
February 6, 2015: Added some new areas
Got together with some friends over the weekend to play around on the map before I released the demo on the Steam workshop. We noticed some gameplay issues. They were minor, but I felt like I should try to correct them before I release the demo. One of them was adding this area over here, which connects the player spawn to the machine gun turret hold out area.
January 22, 2015: Tried a first pass at lighting
I’ve never light an indoor environment before, let alone a tight confined indoor space like some of the deathstar’s hallways. Another problem is that L4D2, isn’t suppose to have that many lights, but the deathstar has lot of bright things in the environment, such as doors that have many lights built into them. Lighting the deathstar will be an interesting experience of learning, tweaking, and balance.


January 20, 2015: Did more photoshop texturing
Starting to come together.
January 19, 2015: Custom whiteboard
Got to have an escape plan.

January 18, 2015: Lightsaber v05
Continued working on the lightsaber. I added a flare and a curved point.
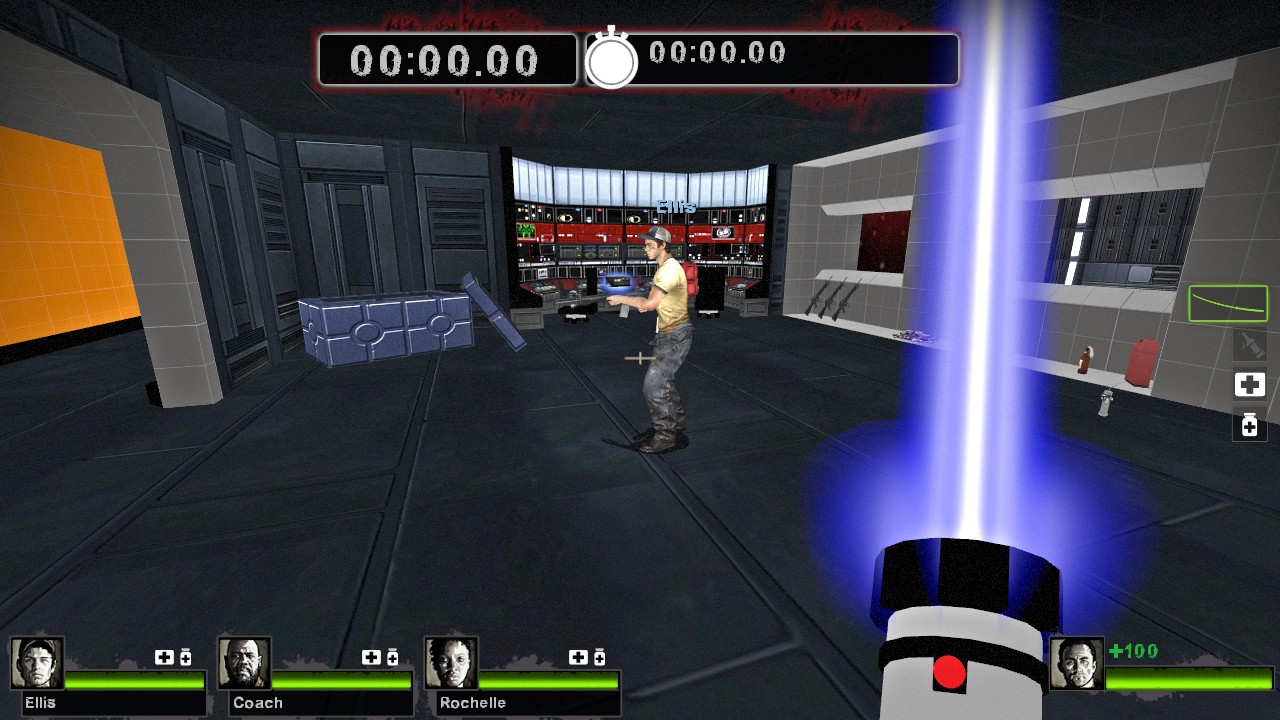
Figure 1: Flare


Figures 2-4: Nick supporting the newest lightsaber. Notice the curved tip at the top of the blade.

Figure 5: A teaser of what is to come.
January 15, 2015: Iterating on the lightsaber
Did some more work on the lightsaber.

January 10, 2015: More Texturing
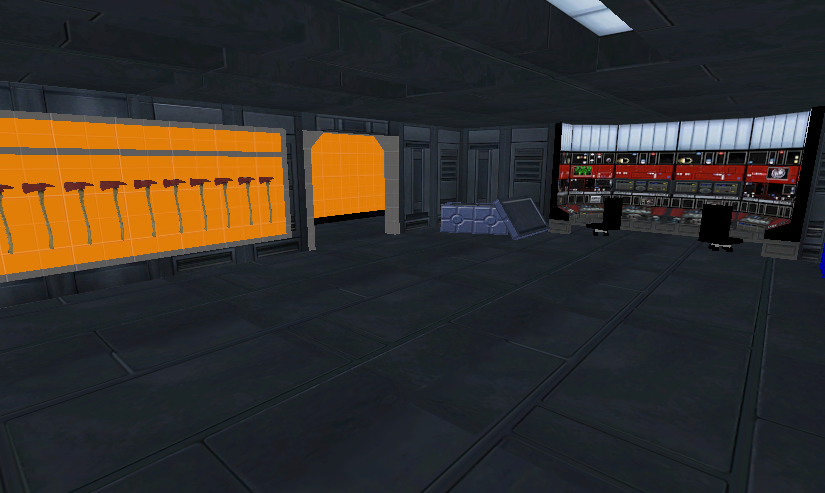
Did some more texture work and added a wall of lightsabers in the control room. With a wall of every melee weapon in the game. It ensures that a player can pick their favorite color lightsaber.
January 8, 2015: More Texturing
Working on grabbing and editing textures for the map.
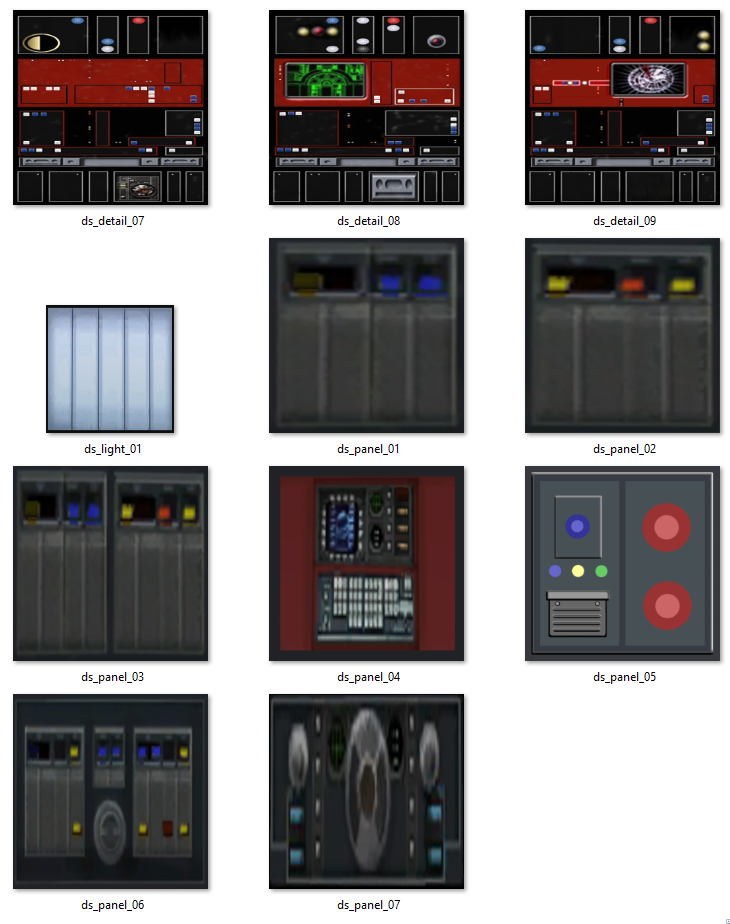
Most of tonight’s textures were panel textures and mostly from the control room. Textures may seemed squished here, but that is because they need to be a perfect square (more specifically a power of 2) to be a source engine material and texture. Yet, when they get applied to the correct size brush they will look fine.

Fig. 2 – Grabbing textures (first person screenshots) from Battlefront 2.
Most of the textures were ripped from SW: Battlefront 2, by going in game and taking screenshots. Then I went into photoshop and edited them. Some didn’t need much touch up. Some required a lot of touch up. One was so bad that it wasn’t even recoverable. So I made my own custom version of it. (This would be ds_panel_05 if you were wondering)
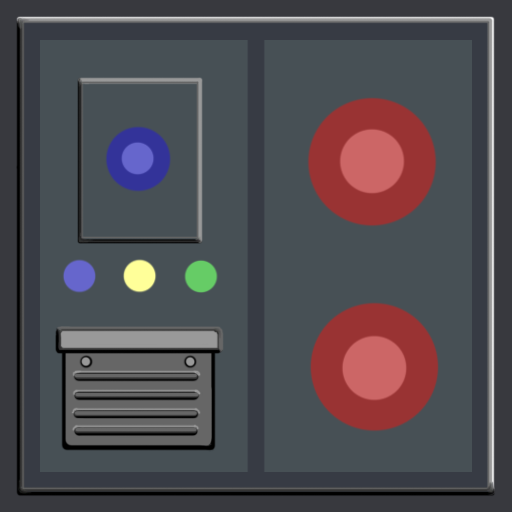
Fig. 3 – “ds_panel_05.vtf”
January 4, 2015: Simple lightsaber in the game
Got a simple lightsaber in the game.
I think this addition will help sell the map and experience more.
The process of replacing a melee weapon in Source was at first not an easy task. But first step is to just try to get through the process with nothing fancy. So I followed this tutorial by Slpinks on Steam. http://steamcommunity.com/sharedfiles/filedetails/?id=250723629 There was a few slow spots here and there even with the step by step guide. I got stuck at the part with texturing. Luckily there was a video link as well, which I found where my mistake was.
My mistake was that there was a material in Blender, which had a different name from my vtf (Source engine material). The true cause of the problem was that I didn’t create the material on the Hawkgirl Mace and I didn’t even know it existed. So I was calling a material that didn’t exist. But I knew that it had something to do with not linking up the texture to the model correctly, and after digging around, I did find the problem and fixed it.
After I took the Hawkgirl Mace through the process, I started to get familiar with the pipeline workflow and decided to try to get a 100% custom (my own) model into the game. Enter the almighty lightsaber!
The hardest part was getting the lightsaber to glow. I wanted to use the “glow effect” built into source, the one you see when you hover your hand over an item in the game, but I couldn’t figure out how to access the shader. Instead I eventually just duplicated the inner white blade and scaled it up. I then added a new material to that called “blade_color”. In the vmt file for “blade_color.vtf”, I made it transparent so that you can see through it to see the inner core white blade.
Code from “blade_color.vmt” :
VertexlitGeneric
{
“$basetexture” “models/weapons/melee/Blade_Color”
“$translucent” 1
}
This is the basic implementation of the lightsaber. For the final product, I’m going to look into additive blending and using multiple intersecting planes, like how old school trees where done in some game engines. I hear this is how the lightsabers were made in the Jedi Knight II: Jedi Outcast and Academy series.
December 30, 2014: Making a lightsaber
I was angry that there was no lightsaber on the Steam workshop. So I decided to take a break from mapping to model one and try to get it in the game.

August 20, 2014: Han Solo L4D2 Survivor
It felt weird having the only L4D2 SW survivors be imperial, so I decided that I’ll also make Han, Luke, Leia, and Chewbacca as survivors.

Han Solo replaces survivor “Nick”. This is my first l4d2 model. Probably still some things that can be worth improving. I got the model from tf3dm.com it was originally from SW:FU for the Wii. I ported it over to L4D2 so we can have fun with some star wars characters.
Check it out on the workshop here: http://steamcommunity.com/sharedfiles/filedetails/?id=303215194
August 12, 2014: Progress Screenshot
Got some gameplay scripts working today.
August 11, 2014: Got swooshy doors working!
Very space like.
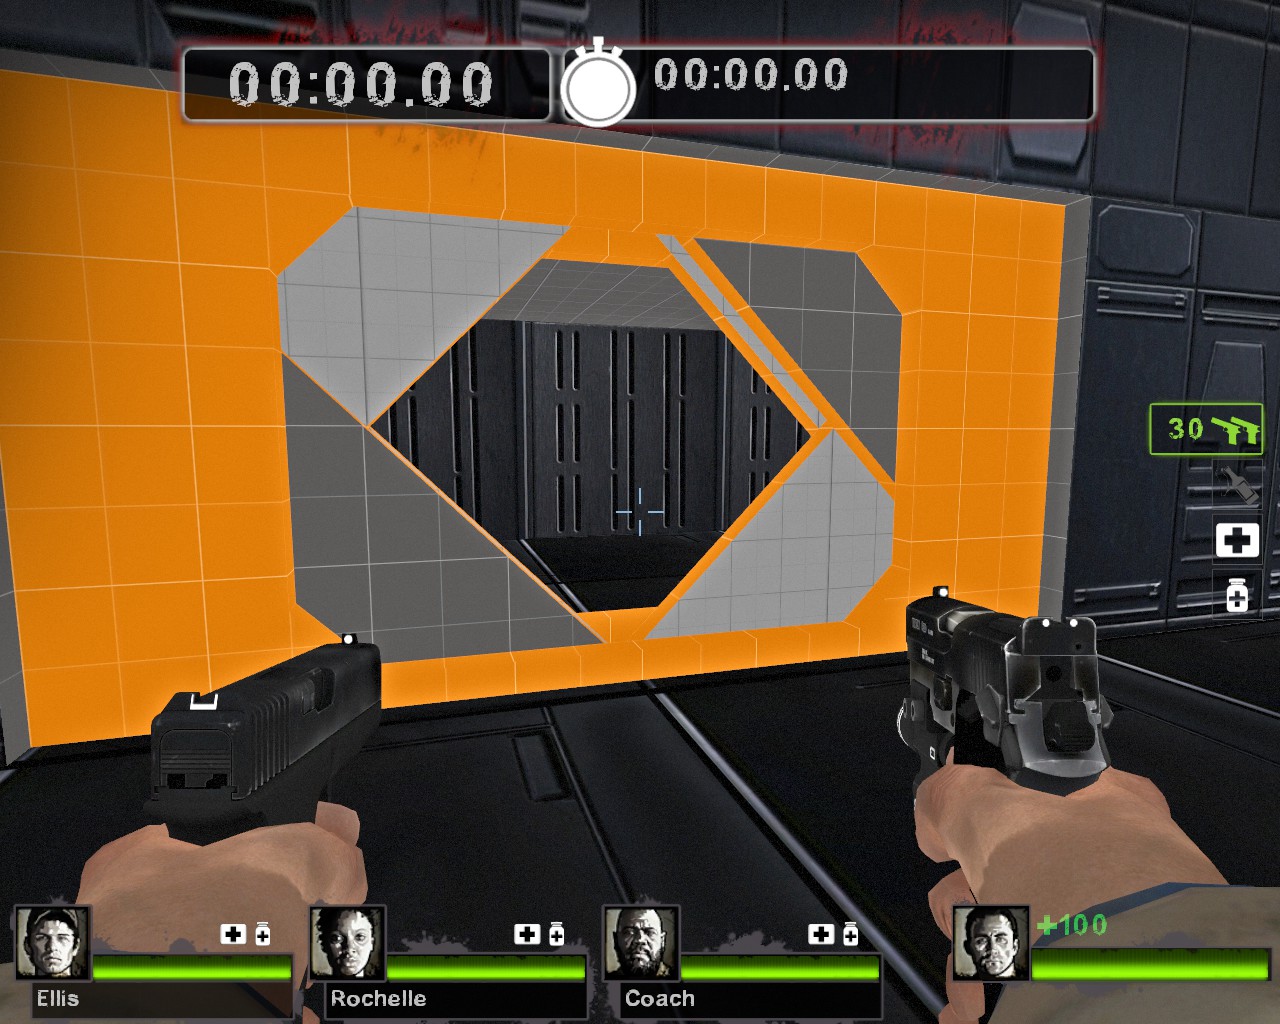
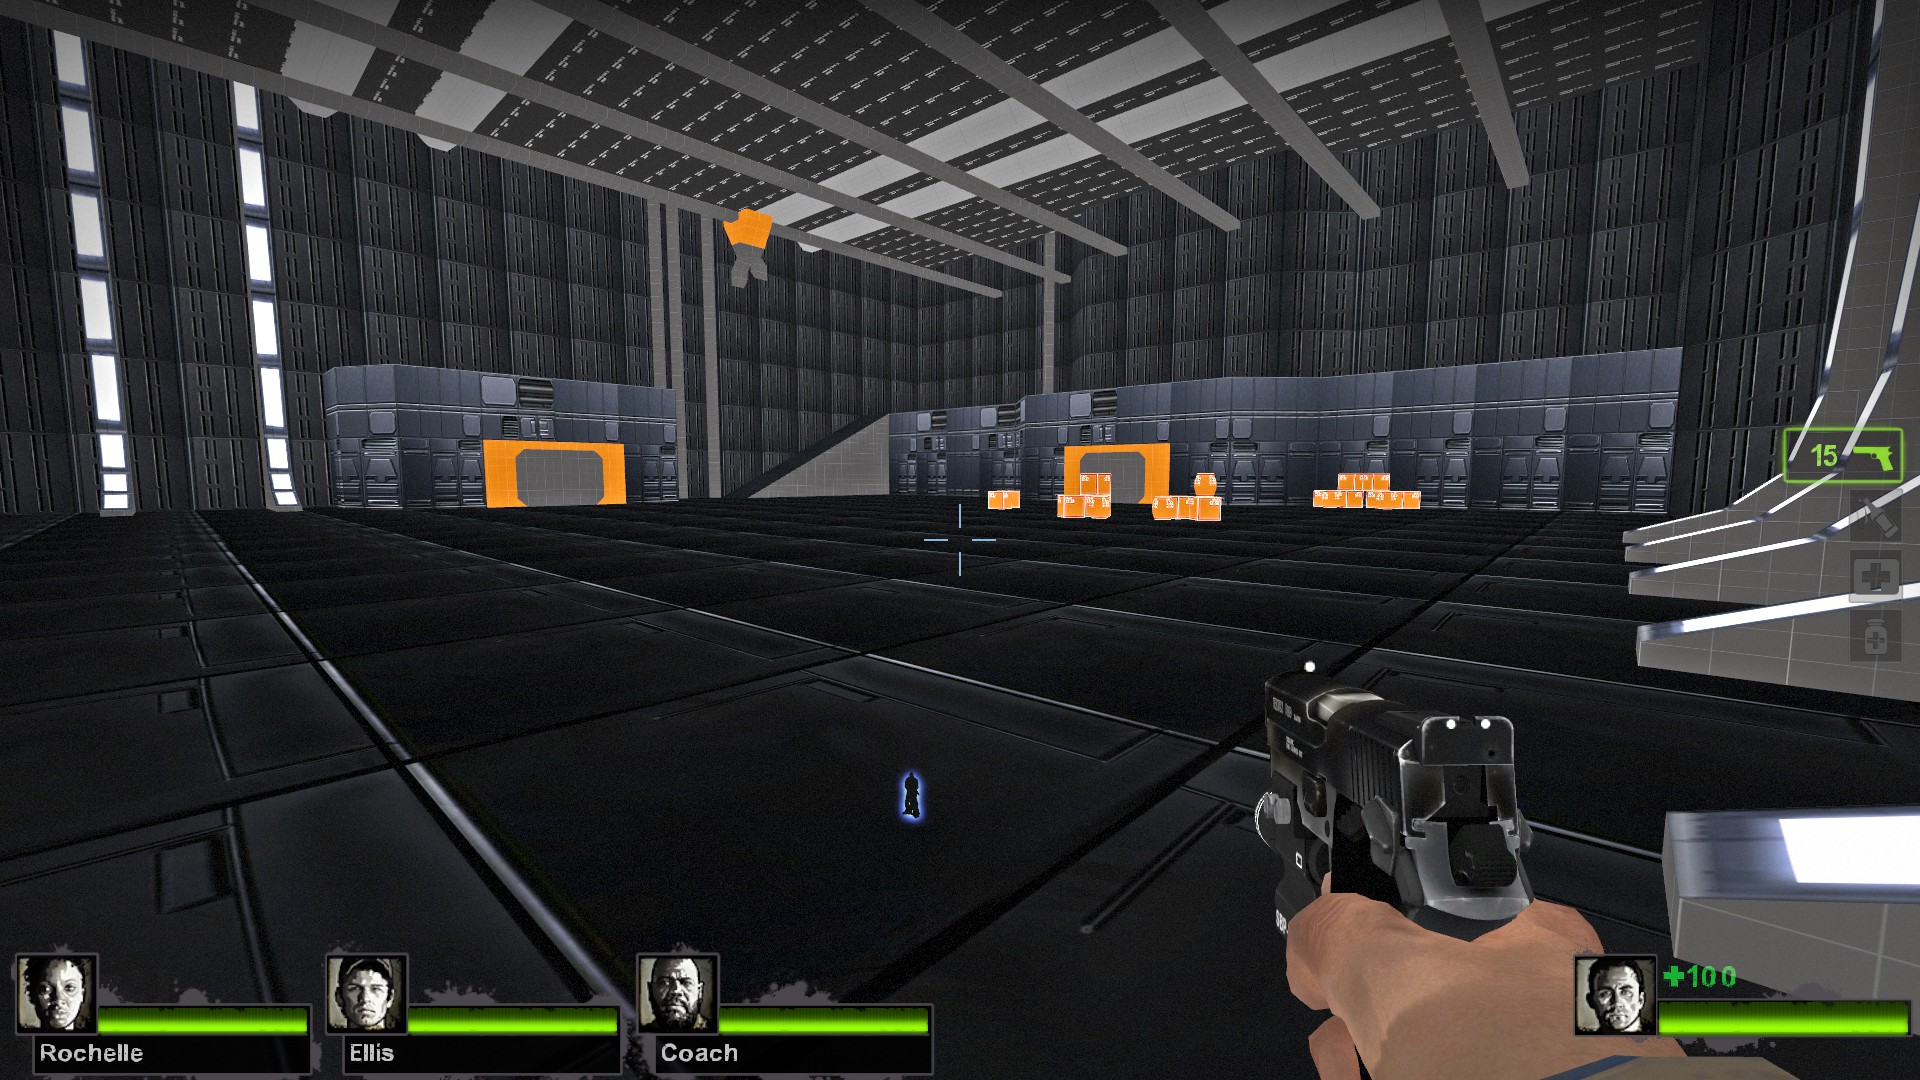
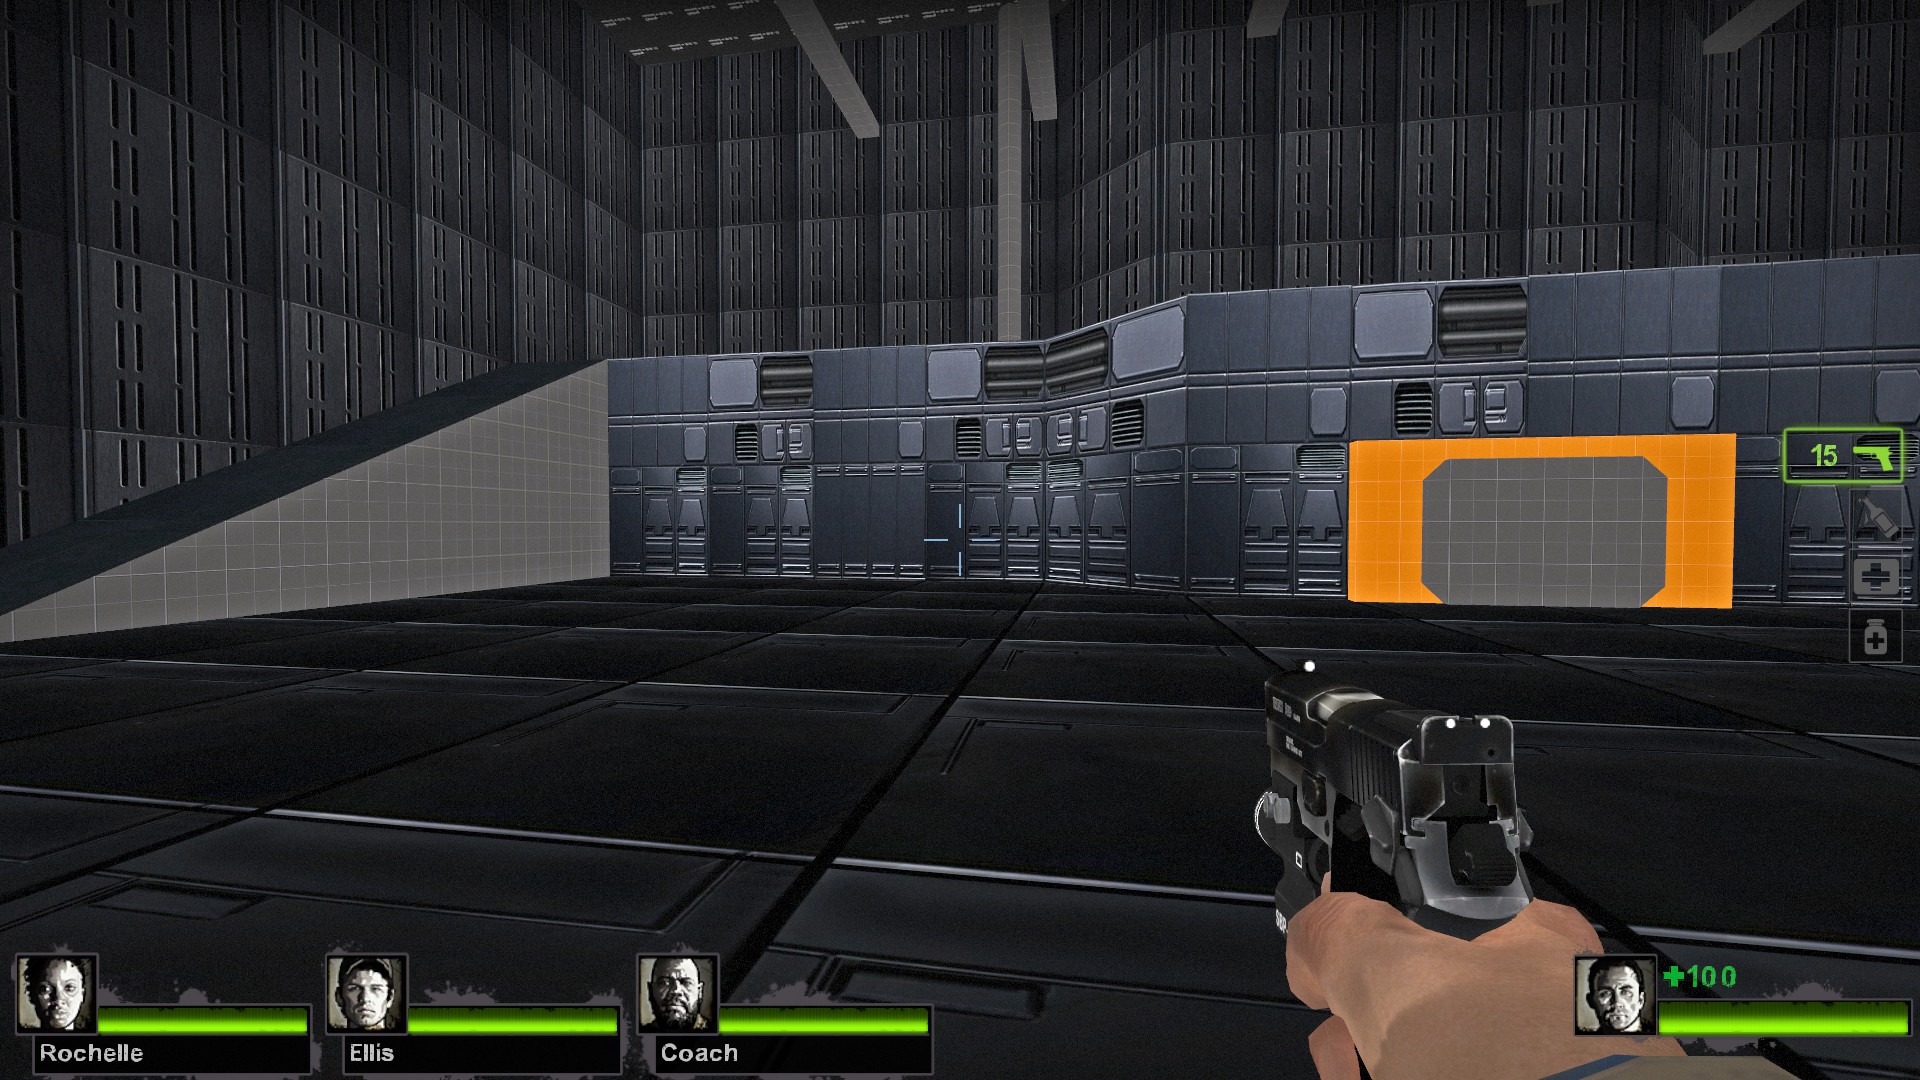
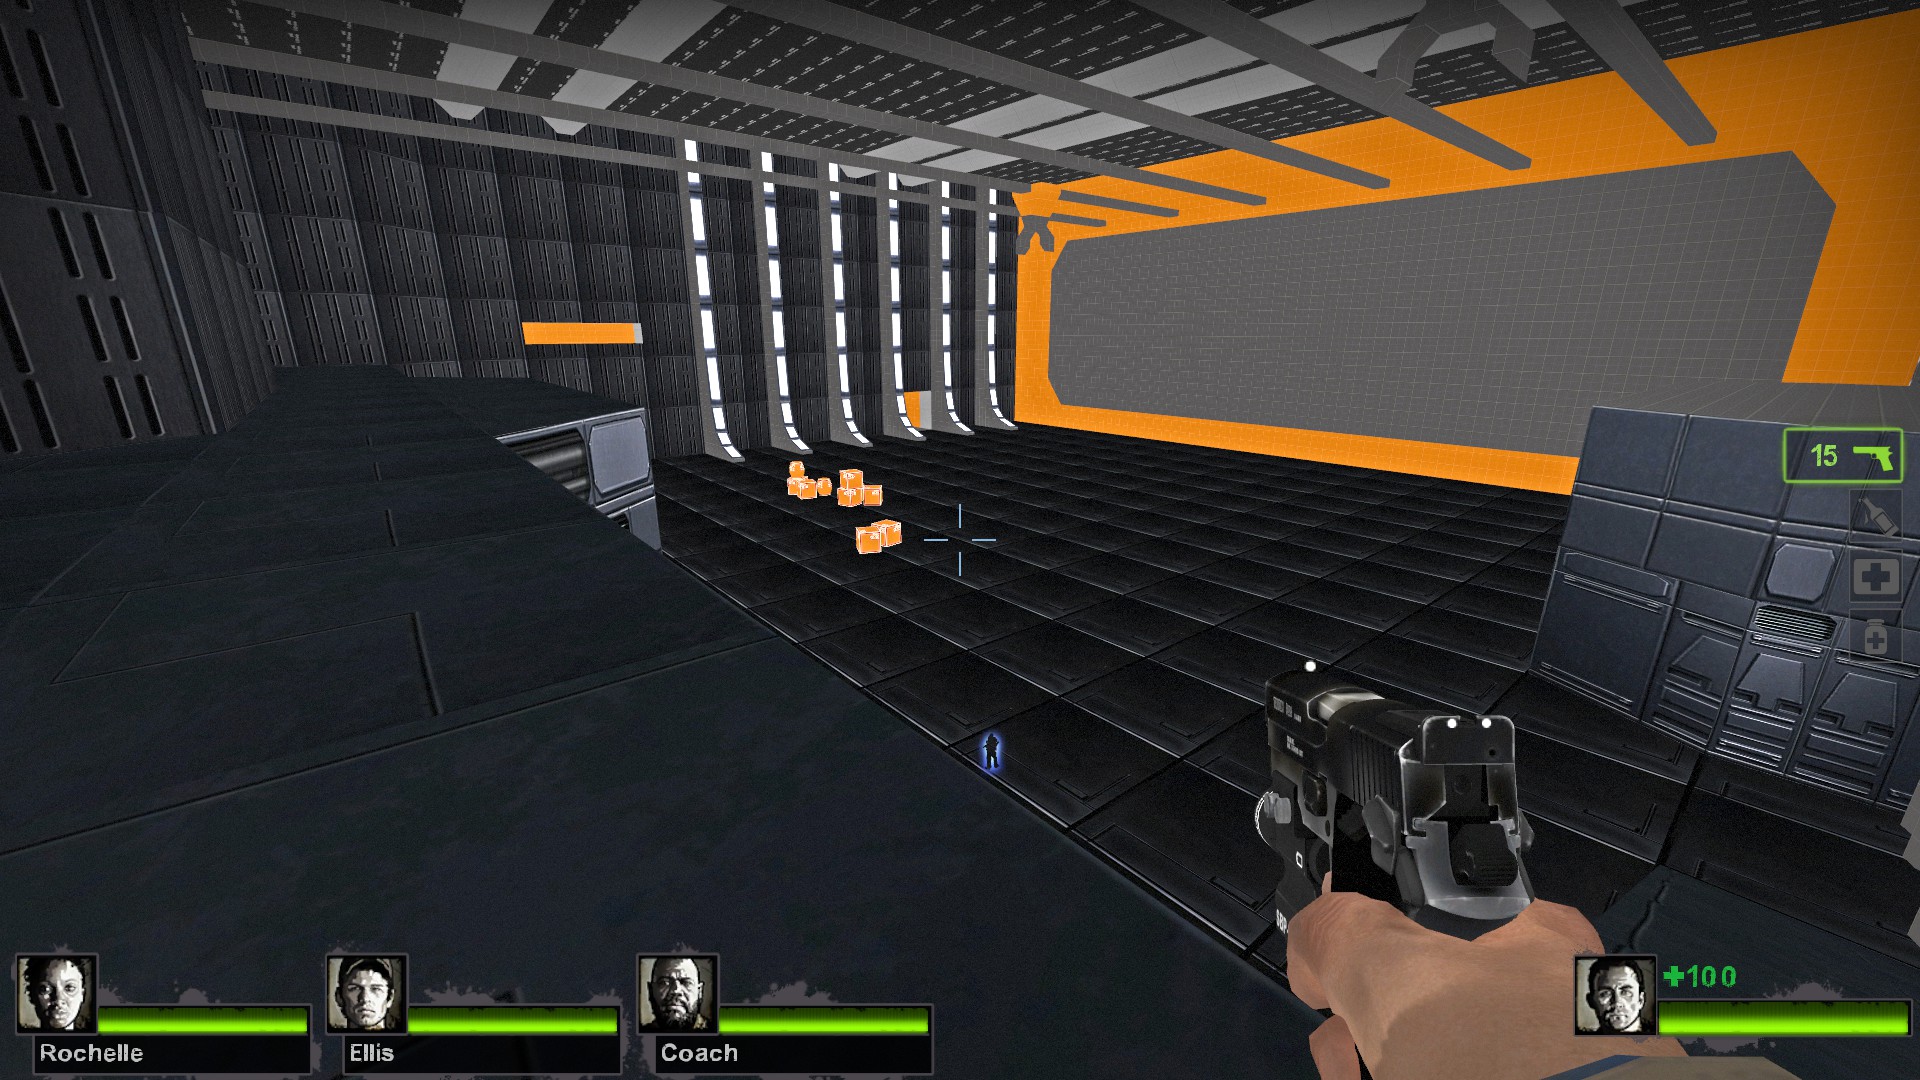
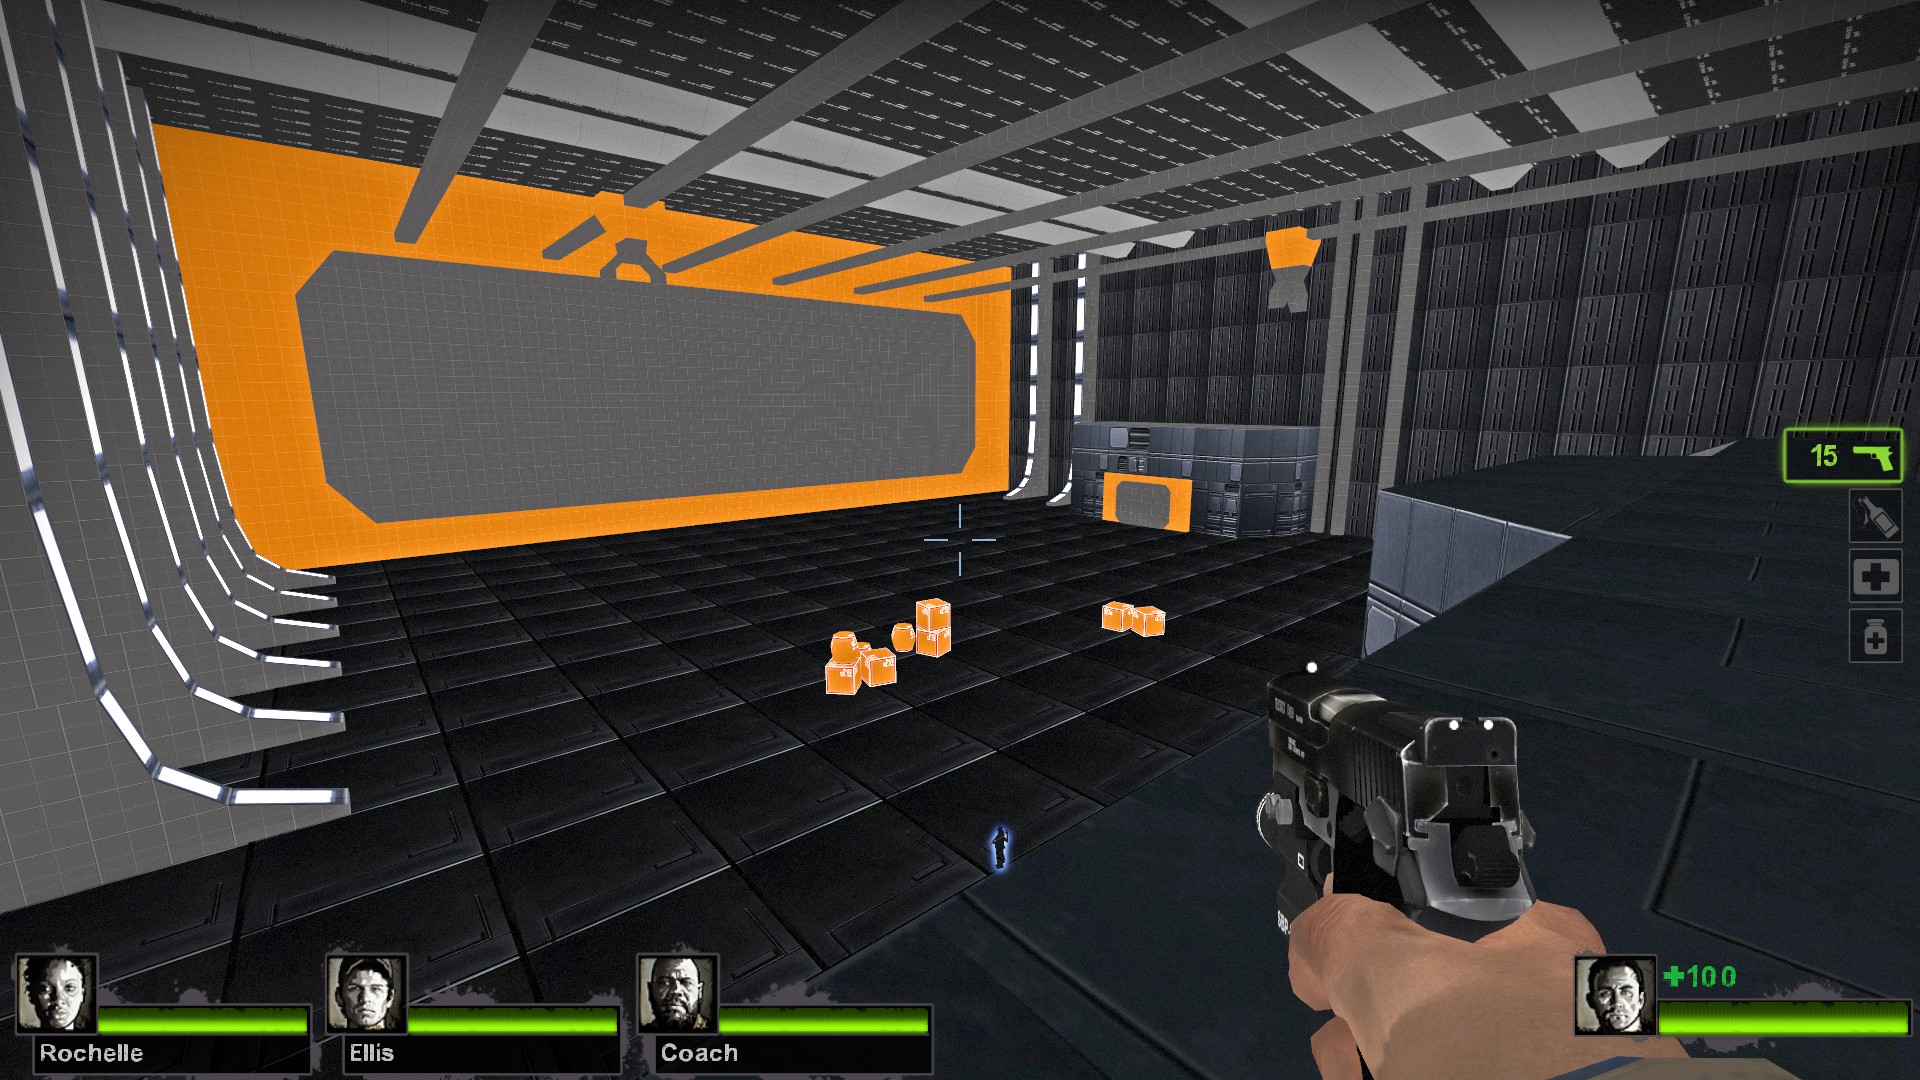
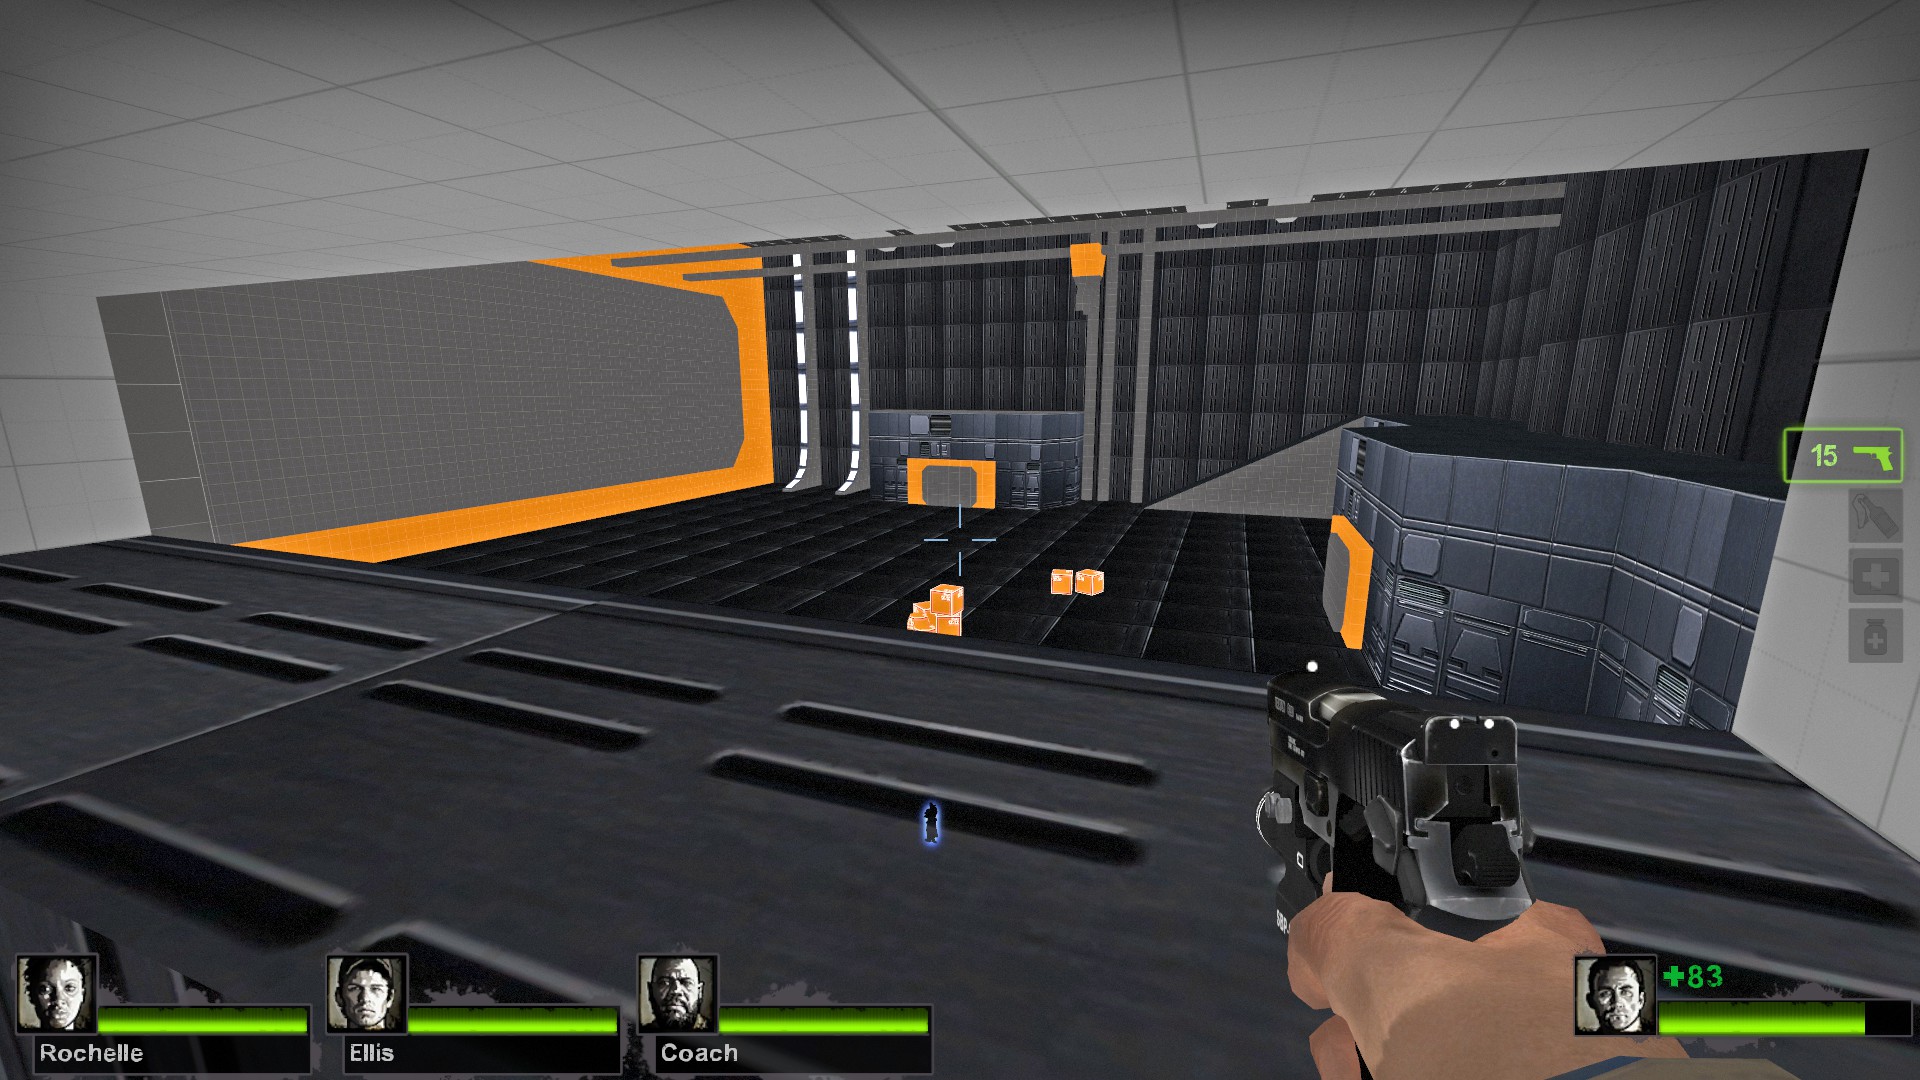
August 9, 2014: Started blocking out stuff
Yay! Orange hanger.
August 8, 2014: Started a design one sheet
Began a design one sheet on the parts of the map I wanted to focus on first.
Some ideas I was thinking at this point where:
- Map focuses on the survival game type.
- Wanted to focus on the hanger first.
- Also add the deathstar control room as an extra room for the survivors to explore.
- All other rooms would be pushed back until these two rooms were completed first.
Project Overview
I was posting things on facebook. Decided to move things here to help keep it all organised.
Info about the project:
Death Star – Left 4 Dead 2 – (Ongoing solo project)
- Identified lack of Star Wars map for all of the Star Wars content on the L4D2 Steam workshop.
- Took it upon self to create the content and capitalize on this gap in the marketplace.
- Geometry and textures based off of content of Death Star map from SW: Battlefront 2.
